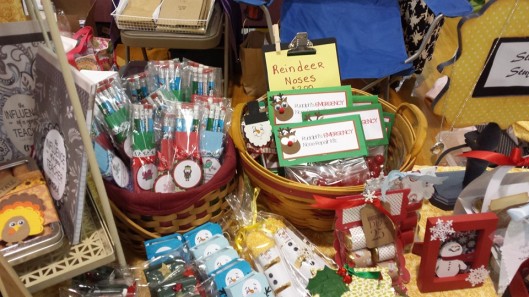
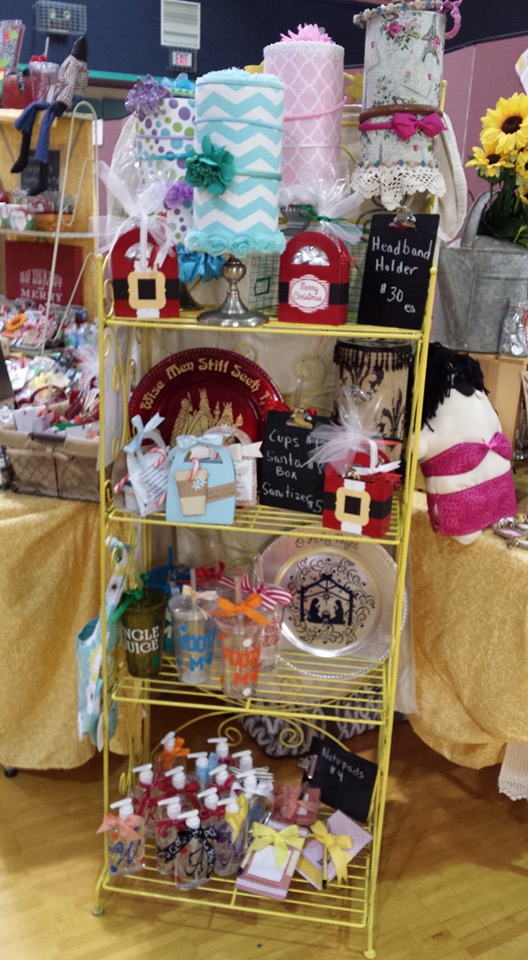
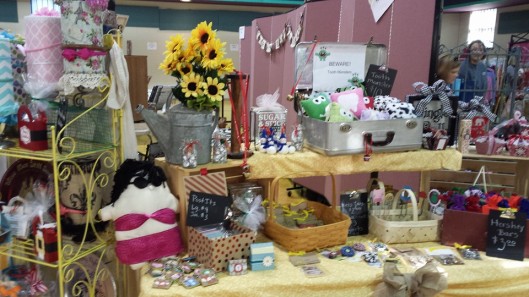
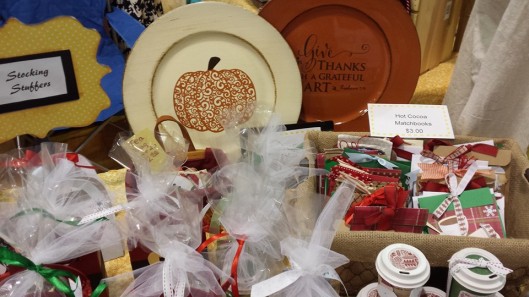
 There are a lot of lessons to be learned when you set up your first craft show. Every night I would pile up to watch TV and pin ideas from PINTEREST. It was my dream to start a small craft business and do craft shows. I enjoyed making things and I enjoyed talking to people about crafts and scrapbooking.
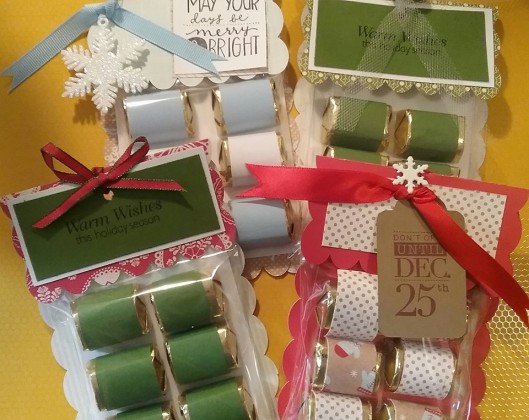
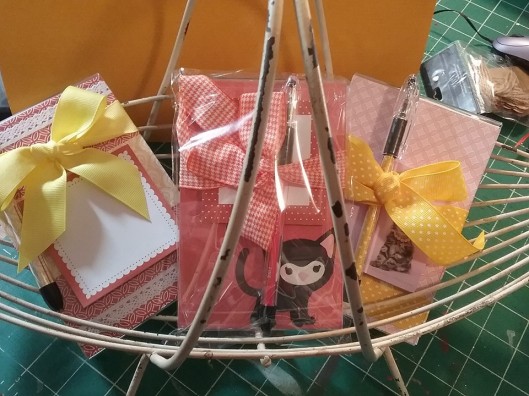
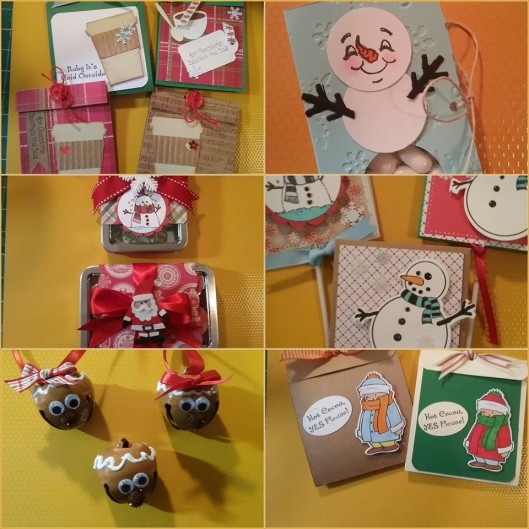
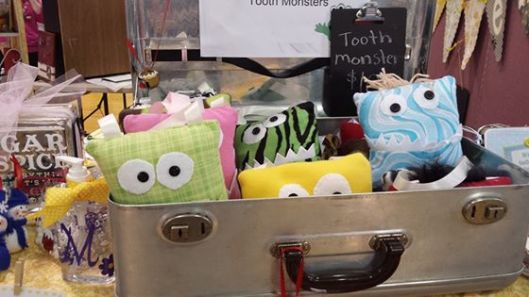
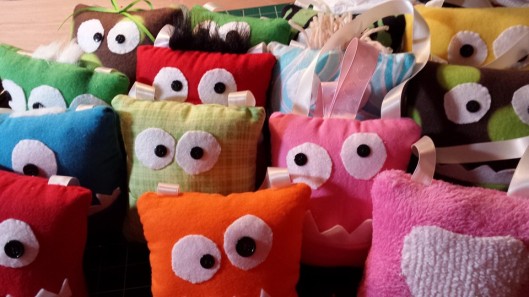
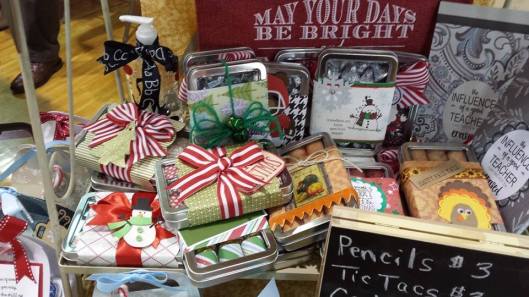
So I pinned and I pinned. I pinned craft show layouts, do’s and don’t, and several ideas of things to make for craft shows that where made several years ago. These were the things I liked and I focused on certain things. I think had even called my PINTEREST Board “Future Endeavors” because I didn’t think I would ever do it. But I did! I chose a small venue for my first show. It was for one day from 9:00 till 3:00. It was one that was actually geared towards items for children but had expanded. The craft I focused on was paper & candy stocking-stuffers, teachers gifts, classroom gifts etc. I had also planned to make some softies too but I ended up with no time for that. It didn’t help that I stared at my fancy sewing machine for days afraid to use it.
I started planning around June/July when I turned in my application for the show. Luckily I started following them on Facebook and kinda remembered when they started planning and taking applications from the year before. I asked a couple of friends if they wanted to make a few things too. I was actually afraid I wouldn’t be able to make enough. Again, this was a six hour small show. But I worked 9 hour days and have a young child so my time was limited. Well let me tell you my friend and I went crazy pinning more pins and buying craft supplies to make all these different things. We started making things and finding more things that inspired us. There are so many cute paper crafts to be made!
Pricing was hard to do too. I know they always say to factor in the cost of material and your time and then double or triple that but a lot of the things I made were from paper I already had and frankly I go blank when it comes to math. I am also a bargain hunter. Even knowing how much time and material goes into things I still don’t want to pay some of the prices I see out there. I had to also factor that in because I am sure there are others like me out there. So I winged it. I found a few prices on the similar items I found on PINTEREST from others craft shows but those posts where sometimes 5 years old or more. I factored that in too. Bottom-line whether right or wrong I priced my items on what I thought I would pay.
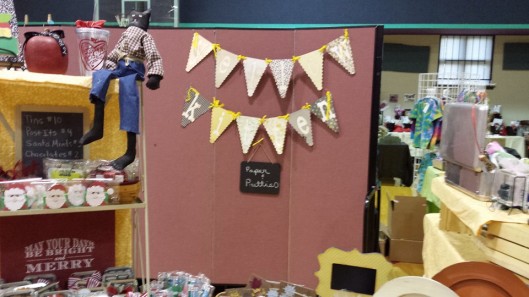
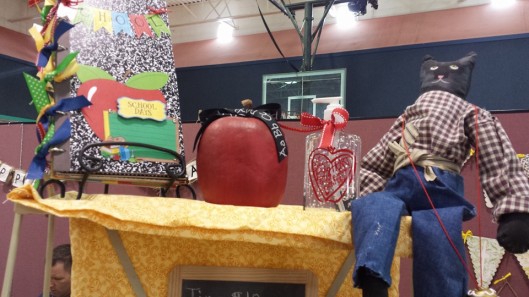
Long story short, it was time for the show. I had planned out in my head what I wanted my booth to look like. I wanted something inviting yet practical. I went with a country shabby theme using yellows since my booth was called Yellow Kitten. I found an inexpensive set of queen size yellow sheets at Steinmart that had small yellow flowers on them (almost gingham) and some old table clothes I had from my grandmothers. I used a couple of old metal shelves that I spray pained yellow and brought in crates and baskets along with an old watering can I put yellow daisies in. I used chalk boards for some of the signs but then decided my handwriting was not nice enough and ended up typing up some signs.
We did pretty good considering it was a short show and that many of our items were very inexpensive. Afterwards I got some invites for some other shows but I was too worn out and I had to start focusing on the family again and the upcoming holiday planning. I plan on doing it again this year which is why I want to share some of the things I learned and hope to remember once I get started again.
- Start planning early. Know what you want to make and stick to it.
- Lay out what you want your booth to look like. If you have room set it up ahead of time in your home.
- Know your craft venue and the space you’ll have ahead of time. We were lucky we got to set up a day early but I didn’t realize how small each booth really was.
- Make good use of your space. I googled different booth layouts and found I liked it better in the shape of an “L” with us being on the inside of the “L” so we could talk to people. I got lucky there too since my booth was on a corner.
- Use things you have at home to use to decorate your booth. I did this for the most part but did end up buying some baskets and the sheets but I bought things I could use after the show. I also already had two long tables which cuts down on renting them from the venue hosts.
- Start small. I starting with a show that only charged $35 to set up. Prices vary with different venues and I didn’t want to pay a $200 fee and make less than that for my first show. There are so many smaller venue shows you can start with for your first show.
- If you show is less than a day long…..don’t make 20-30 of each item unless you plan to do multiple shows. Several of our stocking stuffers had candy in them and since I only did the one show I ended up wasting candy. Even the things that were selling very well I still ended up with leftovers.
- Focus on what you planned on making and not on all the different ideas you found on Pinterest after you made your plan. We made so many different items. As the holidays got closer we’d see so many different little items pop up on Pinterest and we wanted to make them all!!!!!
- If you do make too much. Make things you can give as gifts yourself. After all, you have friends and family too and some people enjoy handmade things. I made a goody basket for my son’s teacher and fancy treats for the class with some of my leftover items
- One point I want to point out is since we made so many different things and were limited on space….some of our cute or even larger items didn’t stand out. Our booth was slightly overwhelming and you really had to stop and take it all in to see what you were interested in. I do like booths with lots of things to chose from but don’t try and shove too much into your small space. When we picked everything up afterwards there were so many really cute things that no one even noticed.
- Talk to the customers that come up to your booth but don’t hover. I said hi to everyone who even walked by. I didn’t hover but if I saw them pick up an item and start to talk about it with their friend I might point out something about the item which might answer their questions. We had some really cute mini-coffee cups like you get at a coffee stand. My friend Lori decorated them and put some coffee flavored candy inside. They were really cute and people did swoon but wondered what was inside…so that strikes up a conversation. I don’t always like people at craft show booths to talk too much to me as a customer so I tried to keep that in mind.
- Have items in different price ranges. I tried to have a good variety of price ranges and even had things children could buy with a dollar since many of our paper items were kid friendly and things children liked.
- Know how you will accept money. I had know all along I wanted to accept credit cards. Even though most of our inventory were lower cost I did have some more expensive items and had hoped people would buy multiples of the lower cost items. I went with a SQUARE credit card reader and it seemed to be the lowest cost credit card reader I found. You can start for free and it costs about 2.75% per swipe to use. After one of my friends showed me how to use it and finding out the password to the show’s WiFi, I was good to go but my day didn’t start out that way. Almost missed a few sales from not knowing this up front so figure it out before the show starts and that will make things a whole lot easier for you. Using Square also helped track our sales and whose item it was. Oh and I didn’t accept credit cards on all sales. They needed to spend at least $10 for me to accept a credit card. Bring plenty of change. I was up at 6 in the morning to run to money machine because I forgot to get change. I raided my son’s piggy bank for quarters and small change too….so sad. But I did write down how much I “borrowed” LOL.
- Pricing is going to be difficult. I have to say this. Or at least it was for us. Like I said before there are many formulas out there on how to price your handmade things. I didn’t find those formulas worked for every item. I just tried to price them on what I would pay and tried not to lose money. I did lose money but that’s mostly from making too much and only doing one show.
- Be sure and track all your expenses and claim them on your taxes.
- Have someone to help you. You will eventually have to eat or go to the restroom. Make sure you have someone there knowledgeable about your items who can stand in for you. You may also want to do a little shopping yourself. Next year the hosts of this craft show plan on setting aside some vendor shopping time. But try not to spend all YOUR profits doing this…..
- Lastly……Just have fun. Enjoy your craft and enjoy the experience of meeting new people both customers and fellow crafts/ direct sales people.


